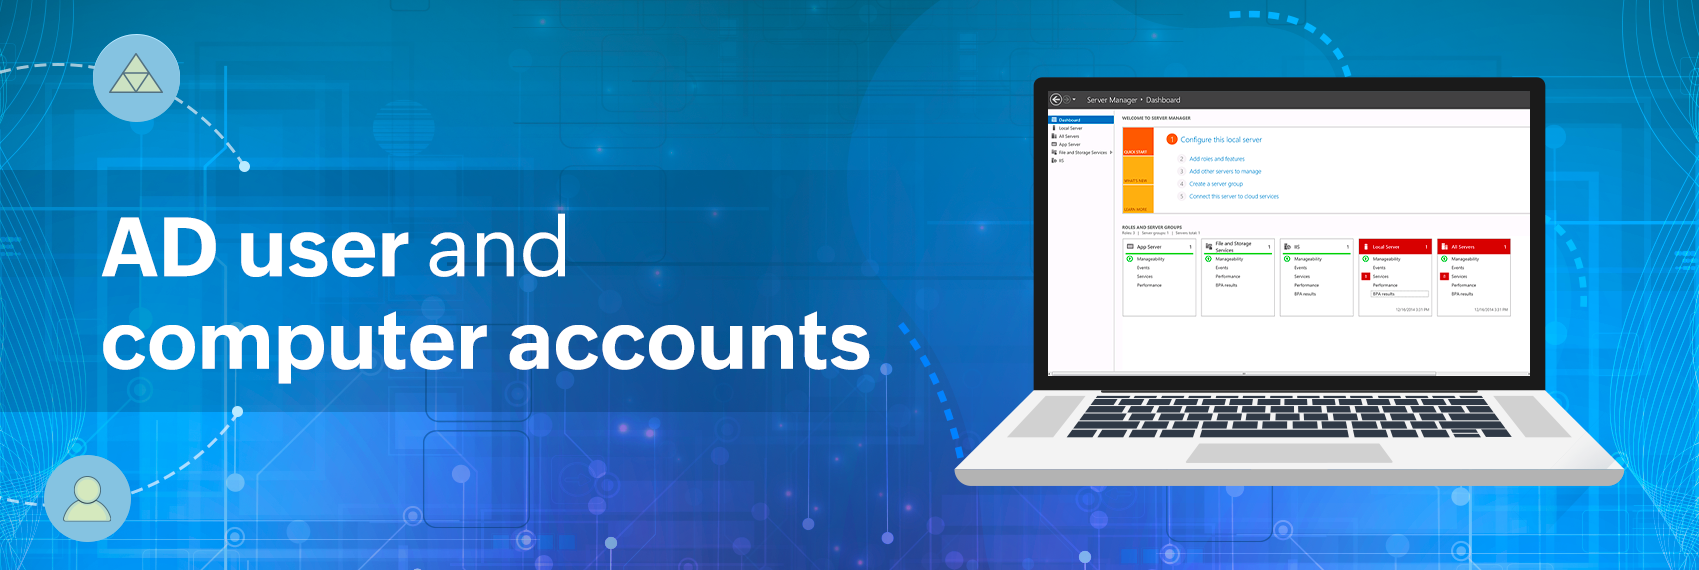
A practical approach to Active Directory Domain Services, Part 3: Explore AD with user and computer accounts
How do you begin working with Active Directory Domain Services (AD DS)? If you have read the previous parts of this blog series, you will know that Active Directory (AD) is a vast subject. In this series, we have chosen topics to help familiarize you with theoretical AD concepts and equip you to work with AD. This blog offers practical AD exercises to help you get started.
Understanding the life cycle of all AD objects, from creation and modification to deletion, is necessary. You also need to know how to troubleshoot account activities and master Group Policy management to optimize AD administration.
In this blog, we will cover the following topics:
Prerequisites for practicing and experimenting with AD
User accounts: Working with the most dynamic AD objects
Computer accounts: Understanding their role in AD environments
Prerequisites for practicing and experimenting with AD
Before you start working on AD, you need to ensure a few things:
Step 1: Set up two virtual machines (VMs) on your computer so that you can trial the various AD exercises.
➤ One of the VMs has to be promoted to the domain controller (DC) with AD DS installed on it. This VM must run Windows Server 2012 and above.
➤ The other VM will be used as a client computer that can be joined to the domain of the DC. This could be any client workstation with any OS installed, such as a Windows 10 workstation.
Please note that the OS configured on the VM, especially that of the DC server, determines the forest and domain functional levels of the AD environment. These are configuration settings that are covered in the steps detailed below. It is worth noting at this stage that the domain functional level has to be greater than or equal to the forest functional level set on the DC.
For example, if the VM on which the DC is running has Windows 2012 installed, then you can set the forest functional level to Windows 2012 and the domain functional level to Windows 2012 and above during the process of promoting this server VM to a DC. In a laboratory test AD environment, you can add on additional DCs, if required, to this AD domain, each with Windows 2012 and above in accordance with the set domain functional level. This would ensure compatibility of all DCs in the AD environment with the latest AD capabilities.
At an organizational level, AD administrators have to ensure that the forest and domain functional levels of all the DCs in the AD domains are configured appropriately.
Step 2:Configure a sample AD domain and set up an administrative boundary to centrally manage and test AD capabilities. This setup of an AD domain on the server VM will mimic how administrators work with AD in a real environment.
In our case, for practice, let us set up a new domain called ad.practice.com. In order to do so, ensure the following:
➤ Configure a static IP address on the server by navigating to the Ethernet settings on the VM that is to be promote to the DC.
➤ The DNS of this VM should be pointing towards the server IP configured in the previous step to ensure reliable discovery of the machine in the domain.
➤ This virtual server is now ready for the installation of additional roles, which in our case is the installation of AD DS along with the DNS server role. To understand the AD-DNS integration better, please refer to Part 2 of this series.
Step 3: Promote the server to a DC to complete the installation of AD DS that was started in step 2. This promotion ensures that the server status is changed to a DC with authentication and authorization capabilities.
➤ To install AD DS on the virtual server, use the management console called Server Manager. The Manage tab in Server Manager lets you locate and add the AD DS role and its associated features.
➤ The wizard will take you through the process of installing this role on the server.
➤ After successful installation, this server will have to be promoted to a DC, as indicated by a notification flag.
➤ While promoting the server to a DC, the deployment configuration settings allow a new forest to be created. The name of the new forest is usually the name of the first domain (root domain) that is created in the forest. In our example, it is called ad.practice.com (Fig. 1).
 Figure 1. This screenshot shows the Server Manager dashboard with the Manage tab in the top-right corner.
Step 4: Complete other DC configurations to create a working test environment for AD.
➤ Other settings, such as the domain and forest functional levels and the DC capabilities (including the setup of the DNS and global catalog), can be added and set to the default options presented.
➤ The NetBIOS name, which is an easily identifiable logon name, and the location of Ntds.dit or the AD database files are some of the other settings that can be finalized at this stage.
Once the promotion of this server to a DC is complete, you have the authenticating, authorizing central server ready for use.
The other VM acting as the client computer will need to be joined to the domain created in the steps above. More on this is covered in a later section of this blog called "Computer accounts: Understanding their role in AD environments."
AD management tools to focus on
In order to begin your AD exercises to create and manage the two kinds of AD objects covered in this blog (users and computers), you can use two primary tools through the Server Manager dashboard:
1. Active Directory Administrative Center (ADAC)
2. Active Directory Users and Computers (ADUC)
Both of these tools have similar capabilities and help you manage and administrate AD domains and objects.
User accounts: Working with the most dynamic AD objects
Users are AD objects that need authentication to join AD domains. Once authenticated, users can be given various permissions and privileges to be authorized to access resources within the AD environment. Both human users and applications that require access to work in the connected network are identified as user accounts.
Users are often grouped into other AD objects called groups. But first, let us understand how to create, modify, and manage individual user accounts.
Creation of AD user objects
To create a user with ADAC, follow the steps below:
In ADAC, create a new user within the Users container visible on the left pane.
Complete all the mandatory fields in the emerging windows. This includes providing details such as the full name and SamAccountName (the user logon name or the unique logon ID created in the domain-name\name format).
Set the passwords and associated permissions.
To create a sample user called "Test AD3 User" using ADAC, refer to the details in Figure 2.

Figure 2. This screenshot shows how to create a test user with ADAC.
To create a user with ADUC, follow the steps below:
In ADUC, choose any default container to create a new user.
Within the Users container, right-click to create a new account.
In the New Object - User creation window that opens up, fill in the same details, including logon name and SamAccountName.
Click Next and set the password.
Enable or disable the users as you deem necessary.
To create a sample user called "Test AD3 User" using ADUC, refer to the details in Figure 3.

Figure 3. This screenshot shows how to create a test user with ADUC.
At the end, do a final review of all the details before completing the new user account creation process (Fig. 4).

Figure 4. This is the final review of the user details for new object creation in ADUC.
As the complexity of the data associated with every user account increases, the information to be provided in the user creation process increases. To minimize the chance of errors, maintain a template to create new users or even use the copy functionality in both ADAC and ADUC to make minimal changes to already existing, standardized user account creation windows.
Administrators will have to create users in bulk in most scenarios. For this, PowerShell cmdlets can be used to automate this process rather than working with ADAC or ADUC.
Management of AD users
You can modify and manage user account properties using the option to view and edit the properties of the users (Fig. 5).
In both ADAC and ADUC, right-click the desired user account to open up a window where you can make all the modifications to the desired properties.
Disable a user account to include a downward-pointing arrow icon on the display of the users. Disabling users until they are required is good practice.
 Figure 5. This is a sample window used to modify user account properties with ADUC.
Deletion of users
In cases where users are no longer part of the required environment and have to be deleted, right-click the respective user and select the delete option.
Troubleshooting AD user accounts
Troubleshooting user accounts is another critical aspect of mastering the management of AD environments.
This usually involves:
Confirming that the account is not disabled.
Checking the user account expiration status.
Checking the password expiration status.
Working with various password reset scenarios.
The creation, modification, and deletion of user accounts is performed by the administrators according to the unique demands and policies of their organization to manage new hires, department changes, employee turnover, and more.
Managing user accounts in an AD environment might appear a complex process, but in reality, AD services always mimic a real-world business setup and help in the effective management of all of an organization's resources.
Computer accounts: Understanding their role in AD environments
Just like all users, applications, and services that need a user account to log on to AD domains, computer accounts are created for every workstation that needs access to the connected AD network.
The creation, management, and deletion of computer accounts is similar to the life cycle of user accounts. To manage computer accounts effectively, computers can also be organized into AD groups and containers to which group policies can be assigned.
Computer accounts can be created in two ways:
By first creating them, then joining them to the respective AD domain.
By creating them in AD as and when new computers are joined to the AD-controlled domain.
Working hands-on with the computer VM
- In the purview of this blog, we have a VM set up as a client computer that needs to be joined to the domain of the DC. Use the second approach listed above for this purpose. This approach allows you to create a new computer account in AD for this client computer once it has been joined to the practice domain created above (i.e., ad.practice.com).
Direct any computer that you want to join to an AD domain towards a minimum of one DNS server maintained in the AD environment. Set the DC's IP address as the preferred DNS server on this client computer.
Using the advanced system settings on the client computer, provide the domain details along with the username and password of a user account that has the permission to add this computer to the domain.
Add this computer as a computer object in AD using the AD management tools.
- Reboot the computer. Afterwards, it will be seen as part of the required domain and will be visible as part of the default computer container in AD. Computer authentication happens in the background.
Creation of computer objects in AD
To create a computer using ADAC, follow the steps below:
In ADAC, create computers within the Computers container on the left pane.
Specify the computer name.
Provide information on any authorized users or user groups that can authenticate newly created computers to add to the AD domain.
Refer to Figure 6 below to create a test computer called "TestAD3Computer" using ADAC.

Figure 6. This screenshot shows how to create a test computer with ADAC.
To create a computer using ADUC, follow the steps below:
In ADUC, you can choose any suitable organizational unit (OU) or container to create computers. Here, for practice, choose the Computers container on the left pane as the default to create a new computer account.
Right-click Computers and click New.
In the window that opens, enter the computer name and select other settings.
Refer to Figure 7 below to create a test computer called "TestAD3User" using ADUC.

Figure 7. This screenshot shows how to create a test computer with ADUC.
You can use PowerShell commands to create computer accounts in bulk, find specific computer accounts, find specific OSs, and even find inactive or expired accounts.
Deletion of computers
To delete computer accounts through either ADAC or ADUC, right-click the desired computer and select the delete option.
In this blog, you have been introduced to two of the most critical AD objects and their management through ADUC and ADAC, the two most popular AD administrative tools.
AD groups and OUs are the next AD objects that require deeper understanding. Stay tuned for the next blog in this series to learn about them.