We have recently received a couple of emails from customers with questions about Google Maps. There has been a change in Google Maps in NetFlow Analyzer since Google has introduced API Version 3.
Learn more about the changes in Google Maps: https://developers.google.com/maps/documentation/javascript/
NetFlow Analyzer supports API Version 3 from build 9700 onwards. However, you have to go through a small step before you can see the Google map.
How to switch to Google Maps UI in NetFlow Analyzer
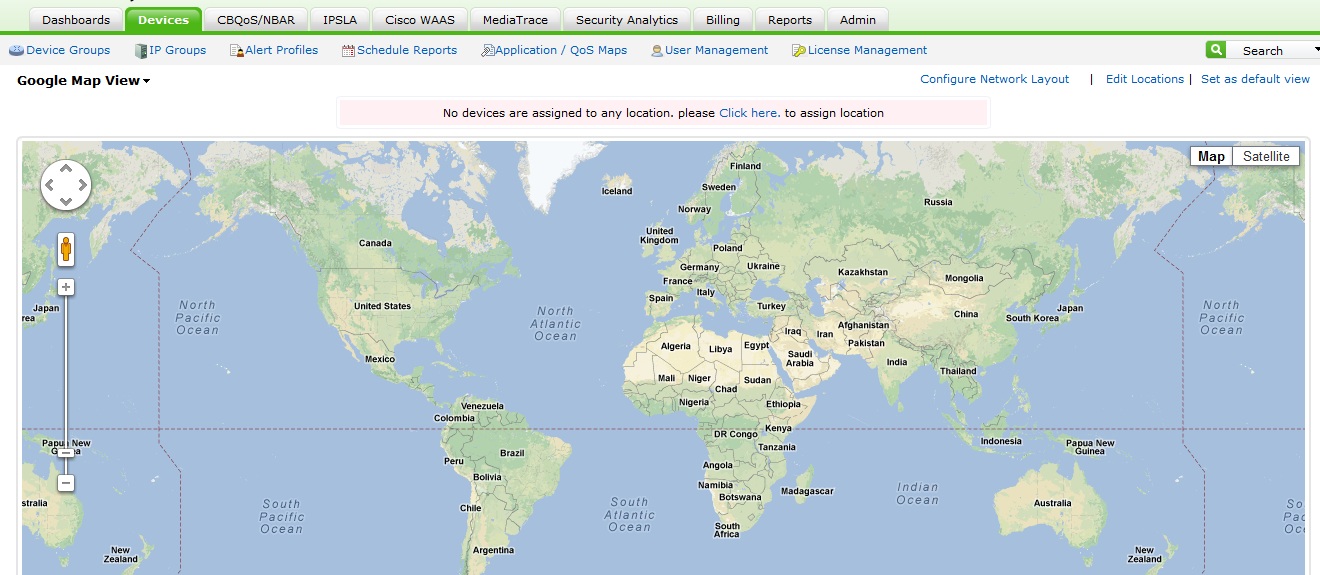
Click on the drop-down on the Dashboard/Device/IP group/Autonomous System/Interface Group pages to switch to Google Map View.
How to make Google Maps work
You have to download a file called googlemap.js as mentioned on the Google Map View page. You can also download the file here or download the attached googlemap.js.
 Once you have download this file, please save it in <NetFlow_Home>\webapps\netflow\script. Once you have saved the file, refresh the Google Map View page to view the Google map.
How to assign a router to this Google map

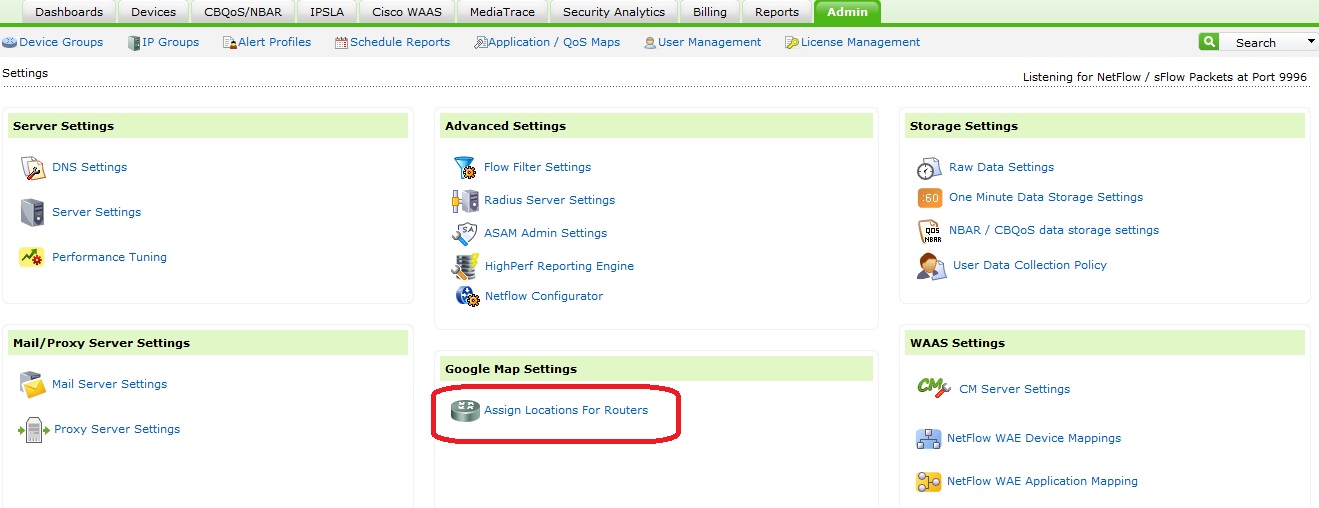
Click the Click here link on the top of the Google map page. You can also assign a location by navigating to Admin > Google Map Settings > Assign Locations For Routers.
This will take you to a different page where you can type the location where you wish to place the router. Click Show on Map once the router is placed correctly, then click Save Location to save the location.
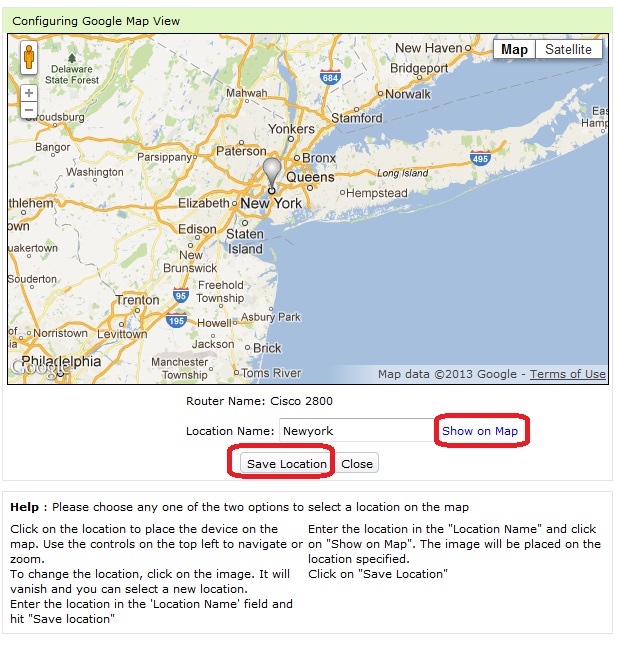
Now once you switch to Google Map View page, you can see your router in the concerned location.

Limitations of Google Maps with the introduction of API version 3
Google allows only 20 locations in one query with the free edition of API version 3. So you will be able to see only a max of 20 routers in the Google Map View. Please refer to the link below to learn more about the limits on the amount of requests:
https://developers.google.com/maps/documentation/business/articles/usage_limits
You can download a free, 30-day trial here.